
A dripping faucet, a leaning shelf, a wall to refresh before summer: most DIY projects at home start with a concrete annoyance. You find yourself on a Saturday morning facing the problem, improvising, and the result is disappointing.
The difference between a failed project and a clean one rarely comes down to talent: it comes down to preparation, choosing the right tool, and a few reflexes that you quickly acquire once you know them.
Read also : Tips and Practical Advice for Successfully Completing Your DIY Projects at Home
Diagnosis before work: the phase every DIYer skips
We all have this reflex: grab the drill before even checking what the wall is made of. On a drywall partition, a Molly anchor works. On a load-bearing wall made of concrete blocks, you need a masonry bit and an expansion anchor. Identifying the substrate before drilling avoids most rework.
The diagnosis isn’t limited to walls. Before laying a floor covering, check the flatness with a mason’s level. Before repainting a ceiling, look for micro-cracks that signal structural movement. These checks take ten minutes and change the final result.
Further reading : Practical Tips for Better Managing Your Personal Finances Daily
For those who want to delve deeper into each type of home project, you can learn everything about Ben Le Bricoleur and find guides categorized by room and difficulty level.
A good diagnosis also includes identifying networks. Before drilling or cutting into a wall, use a metal and electrical cable detector. Consumer models detect live wires and copper pipes a few centimeters deep. This small device costs much less than repairing a punctured pipe.
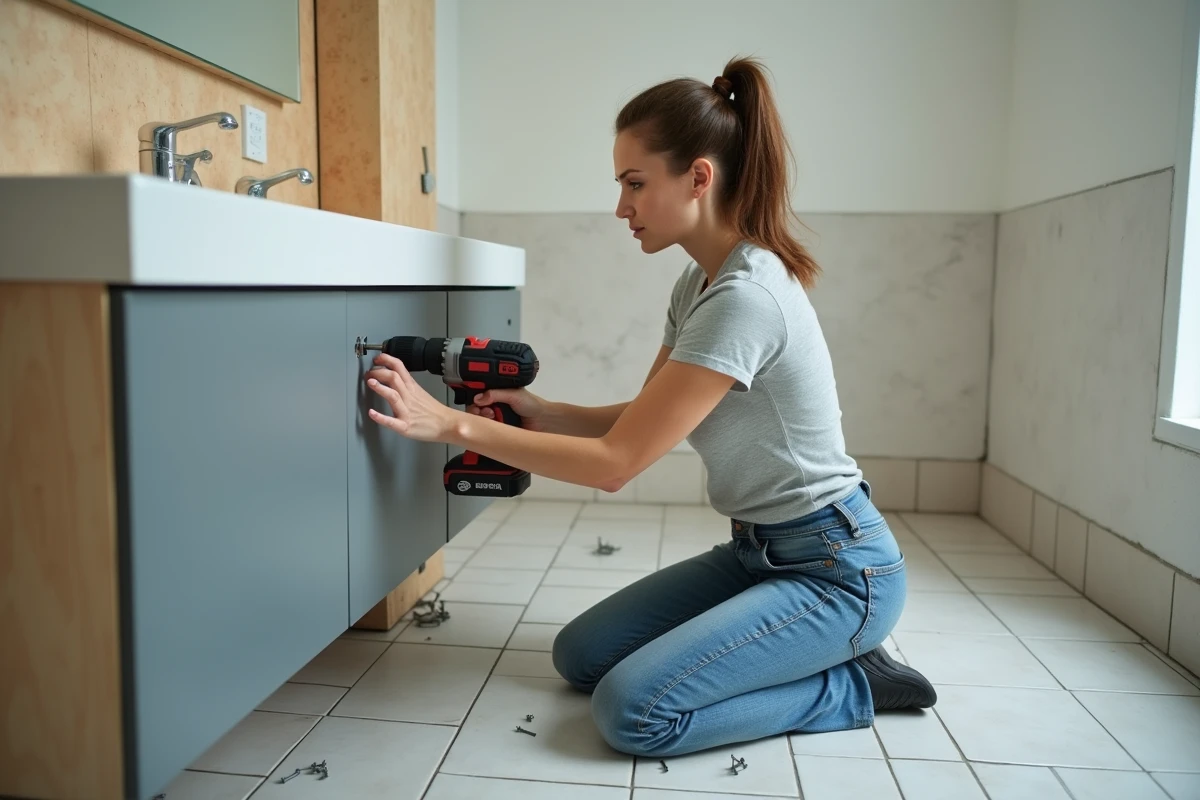
Choosing DIY tools: corded, cordless, and what really changes
The trend in recent years is clear: cordless battery tools are gradually replacing corded models for common household tasks. Screwdrivers, jigsaws, orbital sanders—all are now available in battery versions with enough autonomy for a home project.
The real advantage of cordless is not comfort; it’s safety. No extension cord on the floor to trip over, no risk of cutting a cable with a blade. For an occasional DIYer, a cordless drill-screwdriver and a jigsaw cover most renovation and maintenance projects.
What to check before buying
- The battery voltage: for light screwing in wood or drywall, a 12 V model is sufficient. For drilling concrete or tightening lag screws, you need at least 18 V.
- The compatibility of batteries within the same brand: some manufacturers offer a unique platform where the same battery can be used for the drill and the leaf blower. This avoids accumulating different chargers.
- The torque, expressed in newton-meters: this determines the actual capacity of the tool, not the power stated in watts.
Opinions vary on this point, but an entry-level kit from a recognized brand often yields better results than a high-end standalone tool without suitable accessories.
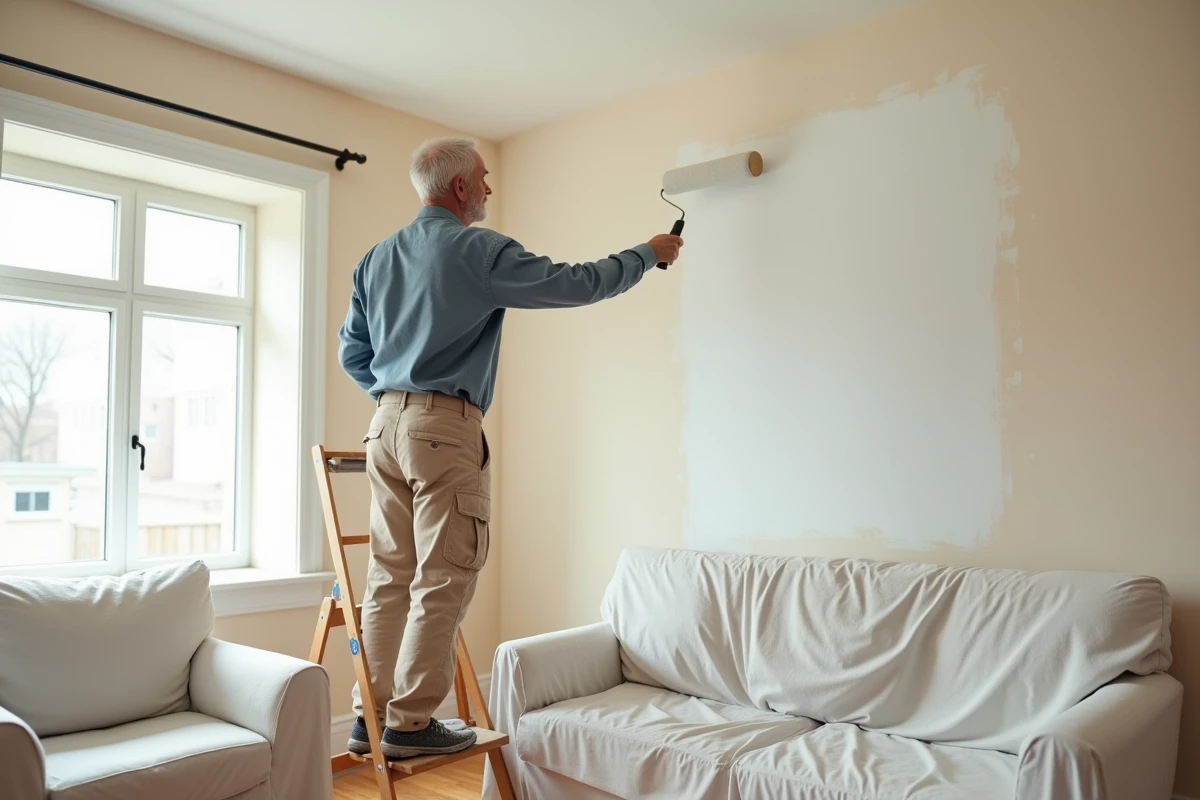
Interior painting work: preparing the substrate makes the difference
Painting is the most common DIY project at home, and it’s the one where preparation is most often rushed. You buy the color, pull out the roller, and start. Then you discover streaks, blisters, or uneven results upon drying.
Light sanding, dusting, and applying a suitable primer represent three-quarters of the work. On a previously painted wall in good condition, a simple scuff with 120-grit sandpaper is enough. On new plaster or a porous surface, the primer blocks absorption and evens out the finish paint’s appearance.
Concrete tips for a clean painting project
Protecting the floor and baseboards with quality masking tape (not office tape) saves more time on cleanup than it costs to apply. Apply the tape on a clean, dry surface, and remove it within an hour after the last coat to avoid peeling off the fresh paint.
For wall-to-ceiling corners, a good quality trim brush is a better alternative to a rabbit-foot roller. Load the brush lightly and make the stroke in one pass. Two thin coats are always better than one thick coat, both for durability and drying.
Regular maintenance and repair: prolong before replacing
The European directive on the right to repair adopted in 2024 confirms a trend that DIYers know well: repairing and maintaining costs less than replacing. Changing a faucet washer in time prevents a leak that damages the cabinet under the sink. Tightening a door hinge every year prevents the frame from warping.
Regular maintenance of wood (decking, shutters, garden furniture) illustrates this principle well. Light sanding followed by oil or a saturator applied once a year protects the material for several seasons. Waiting for the wood to gray and crack forces you to strip, sand deeply, and sometimes replace entire boards.
Safety on small home projects
Protection is often neglected on “simple” tasks. Sanding without a dust mask exposes you to fine particles, especially from old paints that may contain lead. Cutting tiles without safety glasses risks an eye injury for a gesture that takes just a few seconds.
- Safety glasses for any cutting, drilling, or sanding.
- At least an FFP2 mask for sanding and handling chemical products (strippers, resins).
- Gloves suitable for the material: leather for raw wood, nitrile for solvents, cut-resistant for sheet metal.
- Closed shoes with a rigid sole, even for a small indoor project.
These safety equipment represent a modest investment compared to the cost of an emergency room visit.
Ultimately, succeeding in DIY projects at home relies on three habits: diagnosing before acting, choosing the right tool for the substrate, and never sacrificing preparation to save time. The time spent upfront is always recovered in the result.